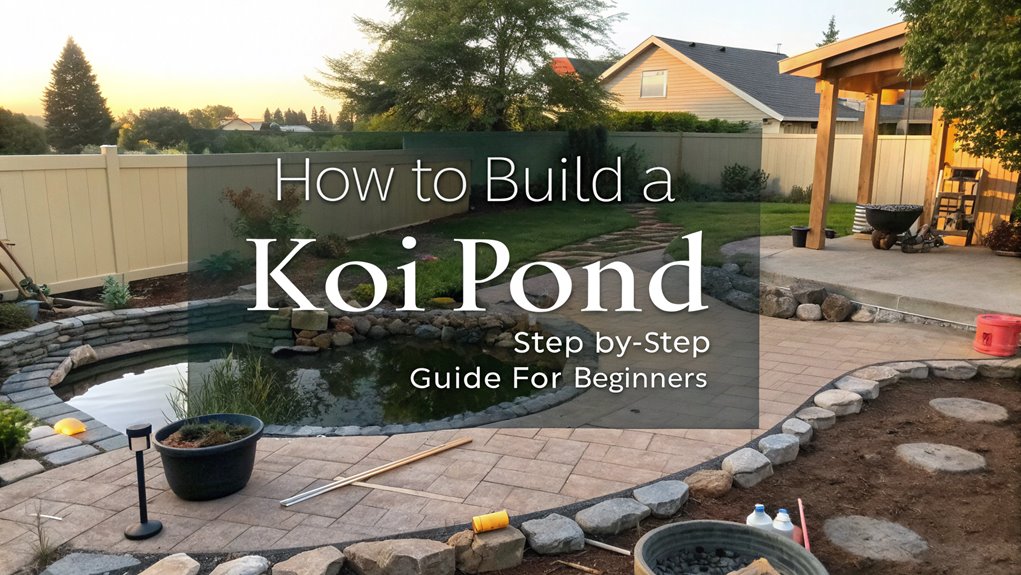
To build a koi pond, choose a sunny location, avoiding trees and maintaining drainage. Outline by marking the shape and ensure a minimum depth of 3 feet and 1,000-gallon size. Use appropriate permits and check utilities using 811. Install essential equipment like pumps, filters, and aeration systems to maintain water quality. Carefully introduce aquatic plants and a few koi to establish balance. Continue and you’ll master the art of creating a thriving aquatic sanctuary.
Key Facts Summarized
- Select a sunny location for the pond, ensuring it’s away from trees and maintains a safe distance from the house.
- Mark the pond outline using a garden hose, ensuring a minimum depth of 3 feet and capacity of 1,000 gallons.
- Install a pump, mechanical filters, and an aeration system to maintain water circulation and oxygen levels.
- Choose aquatic plants like water lilies for natural filtration and shelter, and regularly monitor water quality parameters.
- Gradually introduce koi fish, starting with a small number, and ensure ongoing maintenance for a healthy ecosystem.
Choosing the Perfect Location
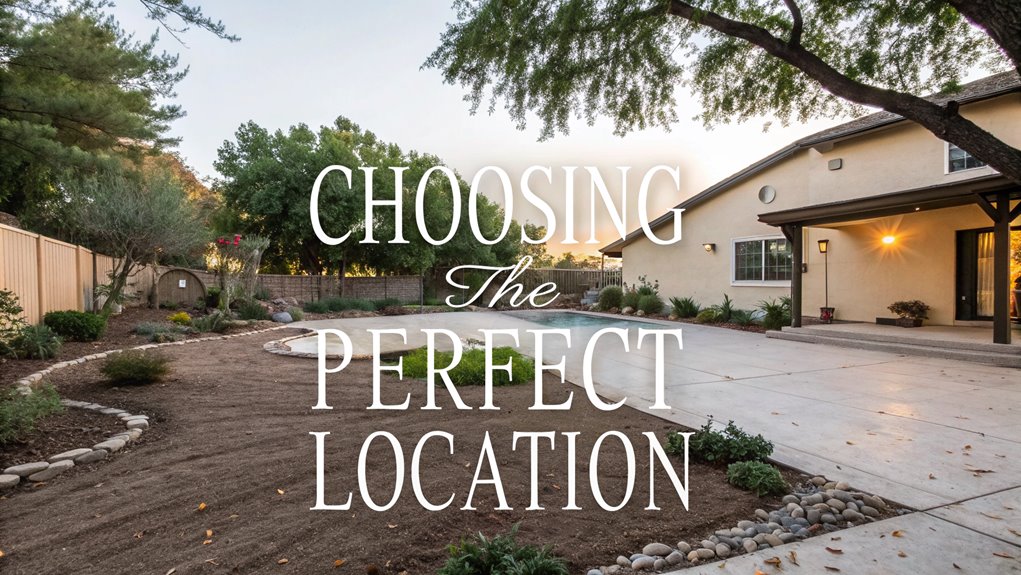
When planning your koi pond, where should it be located to ensure optimal conditions? Choose a location that gets full sun for at least six hours daily to keep your koi warm and help control algae.
Position the pond away from trees and bushes to minimize debris and reduce maintenance. Maintain a distance of 10-25 feet from your house to prevent flooding and potential foundation damage.
Check that the ground is level and well-drained to avoid water accumulation and ensure effective drainage. Consider the proximity to a GFCI outlet, which provides convenient power access for pumps and filtration systems. Additionally, avoid areas with underground utilities to prevent damaging hidden lines during excavation.
Designing Your Koi Pond
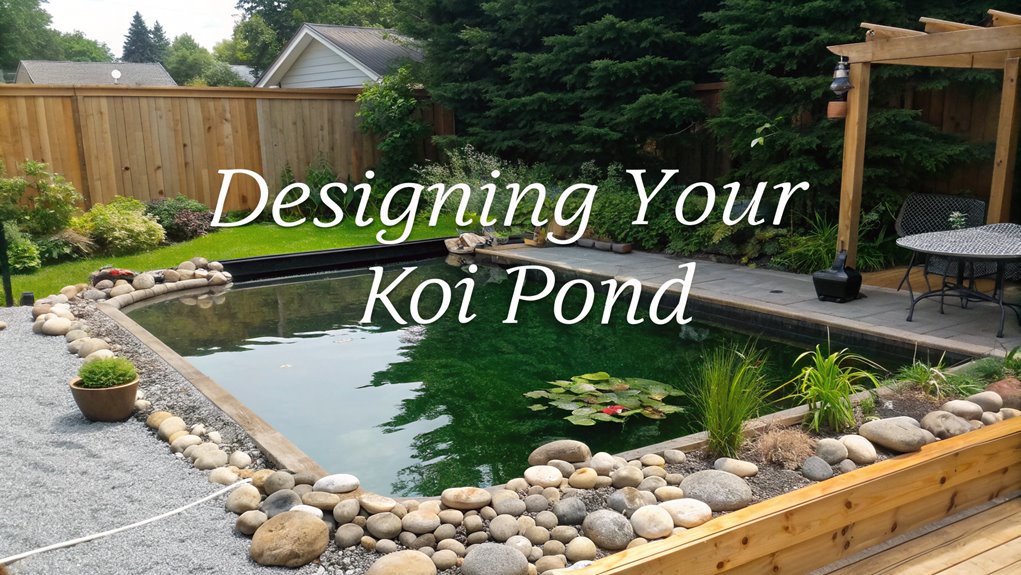
Having selected the ideal location for your koi pond, focus on designing a space that balances functionality with aesthetics. Aim for a pond shape that complements your landscape—perhaps an oval or rectangular form. Ensure a minimum size of 1,000 gallons with a depth of 3 feet. This aids in temperature regulation and maintaining water quality. Position the pond away from trees to optimize sunlight exposure, essential for koi health. Incorporate shelves around the pond for aquatic plants, which enhance beauty and provide natural filtration. Additionally, remember that environmental considerations play a crucial role in the overall health of your koi pond.
| Key Design Elements | Purpose | Benefits |
|---|---|---|
| Pond Shape | Complements landscape | Aesthetic appeal |
| Depth of 3 Feet | Temperature regulation | Maintains water quality |
| Aquatic Plants | Natural filtration | Enhanced aesthetics |
| Sunlight Exposure | Koi health | Growth and vitality |
| Pond Features | Water circulation | Oxygenation and habitat |
Plan additional features like waterfalls for improved water circulation.
Navigating Utilities and Permits
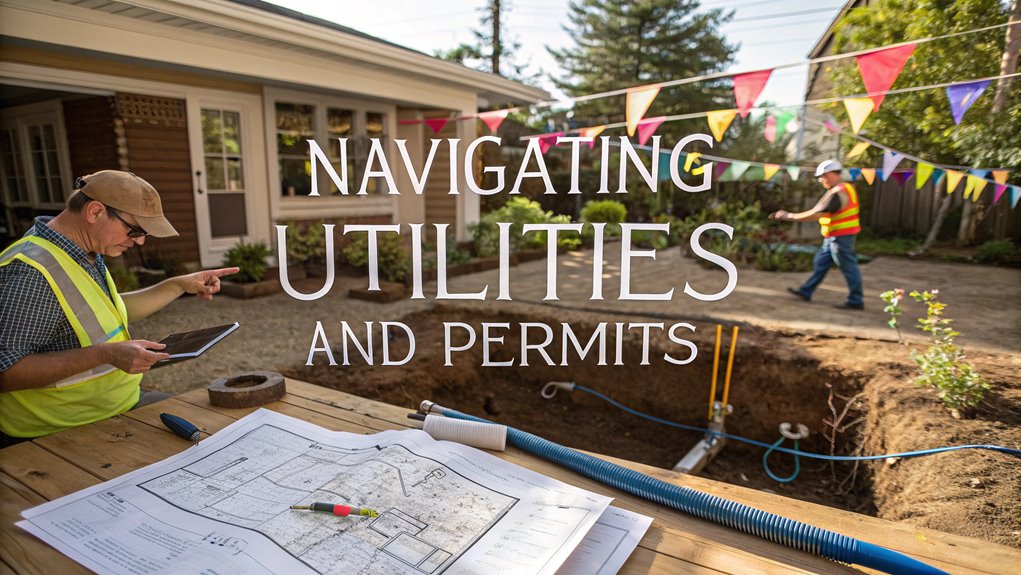
Before breaking ground on your koi pond, it’s crucial to navigate utilities and permits to ensure a smooth project.
Start by calling 811 to identify any underground utility lines and prevent accidental damage during excavation.
Consult your local building department to determine the necessary construction permits based on your pond’s size and design.
Check with your homeowners association (HOA) for specific regulations or restrictions on pond construction.
Adhering to local environmental guidelines is essential, as some areas impose regulations on water usage or wildlife protection.
Ensure full compliance by documenting all utilities and permits acquired. This documentation will prove valuable for future maintenance or upgrades, eliminating potential legal or logistical issues.
Outlining Your Koi Pond
Outlining your koi pond is a critical step that sets the foundation for both design and functionality, impacting the ecosystem you’ll create.
Begin by using a garden hose or string to shape the pond’s outline on the ground. This flexible approach lets you adjust the design before digging. Ensure the outline reflects your planned pond size, with a minimum depth of 3 feet for koi health.
Consider these design elements:
- Experiment with shapes like oval, rectangular, or circular to complement yard aesthetics.
- Mark edges clearly to visualize space and ensure it’s away from trees.
- Adjust the outline based on sunlight exposure to balance aquatic plants and koi needs.
- Confirm the size meets at least 1,000 gallons for healthy fish.
- Plan for depth to support a sustainable ecosystem. Additionally, ensure that the pond includes a proper filtration system to maintain water quality and support koi health.
The Digging Process
The first step in the digging process is to clearly outline your pond’s shape using a garden hose or string, ensuring you’re ready to dig with precision.
Once you’ve visualized the dimensions, grab a shovel or consider heavy equipment for efficient excavation. Aim for a depth of 3-4 feet, incorporating shelves about 12 inches deep for aquatic plants.
Be mindful of tree roots and always check with local utility services to avoid damaging underground utilities. Maintain a minimum depth of 2 feet across the pond to protect koi from predators and freezing. During the digging process, consider how the seasonal changes will impact your pond’s ecosystem and maintenance needs.
Expect initial disarray, but with careful excavation and clean-up, this chaos will evolve into a sustainable aquatic haven, harmonizing with your landscape’s design.
Installing the Pond Liner
When embarking on the installation of your pond liner, ensure the excavation site is meticulously cleared of sharp objects, rocks, and any debris to prevent punctures.
Opt for a flexible EPDM liner, at least 45-mil thick, to enhance durability.
Here’s a concise guide:
- Install the liner on a warm day; this makes it more pliable for seamless fitting.
- Allow for 1-2 feet of excess liner beyond the pond’s outline to effectively secure it.
- Gently stretch the liner, smoothing out wrinkles and folds.
- Use rocks and gravel to anchor the edges, ensuring stability and preventing movement.
- Check for leaks by filling the pond, monitoring the water volume, and addressing any issues before trimming excess liner.
This approach ensures a sustainable, robust pond structure.
Adding Rocks and Gravel
Start with a layer of coarse gravel over the pond liner to create a stable foundation for your koi pond. This initial layer supports the structure and aids in filtration.
Use washed rocks to maintain optimal water quality by preventing harmful bacteria and chemicals from entering the pond. After the gravel, strategically place heavier rocks or boulders to secure the liner, minimizing wrinkles and potential leaks.
These rocks enhance the pond’s natural appearance and offer habitats for beneficial bacteria, essential for a healthy ecosystem. A balanced ecosystem is crucial for reducing algae growth and maintaining a thriving pond environment. Leave room around the pond’s edge for aquatic plants, which contribute to filtration and aesthetics by trapping debris.
This thoughtful arrangement ensures a sustainable and visually appealing koi pond environment that thrives naturally.
Setting Up Essential Equipment
To ensure your koi pond thrives, equip it with essential systems designed for efficiency and sustainability.
Start with a pump and filtration system that circulates the entire pond volume every hour, optimizing water quality. Incorporate both mechanical filters, like skimmers, and biological filters to foster beneficial bacteria.
Enhance your setup with a settling chamber connected to the pond drain, effectively managing biological waste and maintaining a clean environment. An aeration system is vital, especially in warmer months, to sustain adequate oxygen levels for active koi.
Regularly check and maintain all equipment to ensure optimal performance.
- Pump and filtration system: Circulate pond volume hourly.
- Mechanical filters: Capture debris.
- Biological filters: Support beneficial bacteria.
- Settling chamber: Manage waste.
- Aeration system: Maintain oxygen levels.
Filling the Pond With Water
With your pond’s equipment efficiently set up, it’s time to fill the pond with water, a critical step for creating a sustainable aquatic environment. Begin by using a hose or water truck, monitoring the water levels to ensure consistency and detect any leaks. Allow the pond to settle for 24-48 hours to ensure water conditions stabilize before introducing chemicals. Use a dechlorinator if you’re filling the pond with tap water to remove chlorine. Check pH levels and ammonia levels, ensuring they’re ideal for aquatic life. Observe the water’s behavior to confirm proper drainage and flow.
| Aspect | Importance | Action Required |
|---|---|---|
| Water Levels | Consistency and Leak Check | Monitor during filling |
| Water Conditions | Health of Ecosystem | Allow settling |
| Dechlorinator Use | Chemical Removal | Apply if using tap water |
| pH Levels | Stability for Aquatic Life | Test before plant introduction |
| Ammonia Levels | Toxicity Prevention | Regular monitoring |
Ensure conditions are stabilized for the eventual introduction of aquatic plants.
Introducing Aquatic Life and Plants
Although creating a balanced ecosystem requires patience, introducing aquatic life and plants into your koi pond is an exciting and crucial phase.
Begin by selecting the right aquatic plants, such as water lilies and hornwort, to enhance natural filtration and maintain water quality.
To introduce koi fish effectively, start with a small number, allowing 1,000 to 1,500 gallons of water for every five koi.
- Acclimate koi by floating their sealed bags in the pond for 15-20 minutes.
- Monitor water parameters like pH and ammonia levels to ensure stability.
- Check regularly for debris and uneaten food to prevent water quality issues.
- Use plants for shelter and oxygen, promoting a sustainable environment.
- Gradually introduce koi to avoid overloading the ecosystem.
Frequently Asked Questions
How to Start a Koi Pond for Beginners?
Start your koi pond by choosing a sunny, tree-free spot, then design it with at least 1,000 gallons and 3-foot depth. Outline, dig, and line it, then fill and condition the water before adding plants and koi.
Why Add Baking Soda to Koi Pond?
Think of baking soda as the pond’s pH guardian. You add it to stabilize pH levels, enhance alkalinity, and protect koi from stress. Regularly monitor water conditions to maintain a sustainable, healthy aquatic environment for your koi.
How to Set up a Fish Pond Step by Step?
You’ll start by selecting a sunny, accessible location. Design the pond’s dimensions, dig carefully, and install a liner. Add equipment, fill it with water, and test the parameters. Finally, introduce plants and fish sustainably.
Can I Build a Koi Pond Myself?
Absolutely, you can build a koi pond yourself. Focus on selecting a sustainable location, designing an efficient layout, and using eco-friendly materials. With proper planning and execution, you’ll enjoy a beautiful, customized pond that’s cost-effective.
Conclusion
Congratulations, you’ve embarked on a journey not just to build a koi pond, but to create an awe-inspiring aquatic haven that rivals the grandeur of nature itself! By choosing the perfect location and designing with precision, you’ve crafted a masterpiece of sustainable design. Your pond isn’t just a water feature; it’s a thriving ecosystem. With each ripple, your koi will dance, and your plants will flourish, transforming your backyard into an unparalleled oasis of tranquility and beauty.

